Build blog for making a custom dress form out of duct tape, with a PVC stand.
|
|
Background
A decent dress form runs $100, and won’t match your body that well. I decided to make my own in the well-established duct tape fashion. My approach is a combination gleaned from various sites/tutorials. I optimized it for a tight fit.
Huge thanks to Samurai Kiss and Kevin for wrapping me.
Making the Form
Supplies
- Duct Tape (two large rolls)
- Two friends (one will do in a pinch) willing to work for ~2 hours
- A t-shirt to sacrifice
- Cling wrap (highly advised for extending to neck and hips)
- Permanent marker
- Scissors (heavy duty)
Supplies for stuffing and making a stand are listed in their own section below.
Preparation
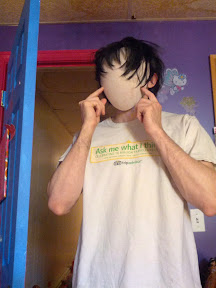
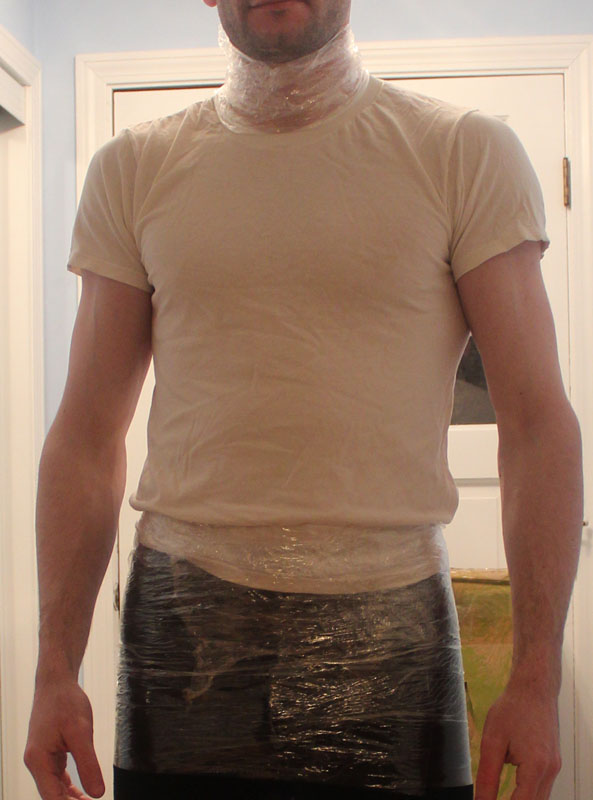
Wear form-fitting pants and your sacrificial t-shirt. It’s preferable that the shirt not be lose, but it need not be skin-tight.
If you want the form to extend beyond the shirt, use cling wrap. You can hold it up with little pieces of tape.
You’ll be making 3 layers of tape – horizontal, vertical, horizontal. This is going to take a while, so hold still, and try to stick to a single posture. However you tend to stand in cosplay is probably best.
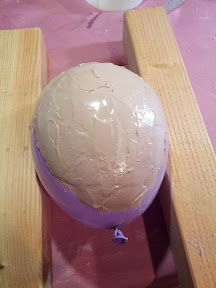
Torso
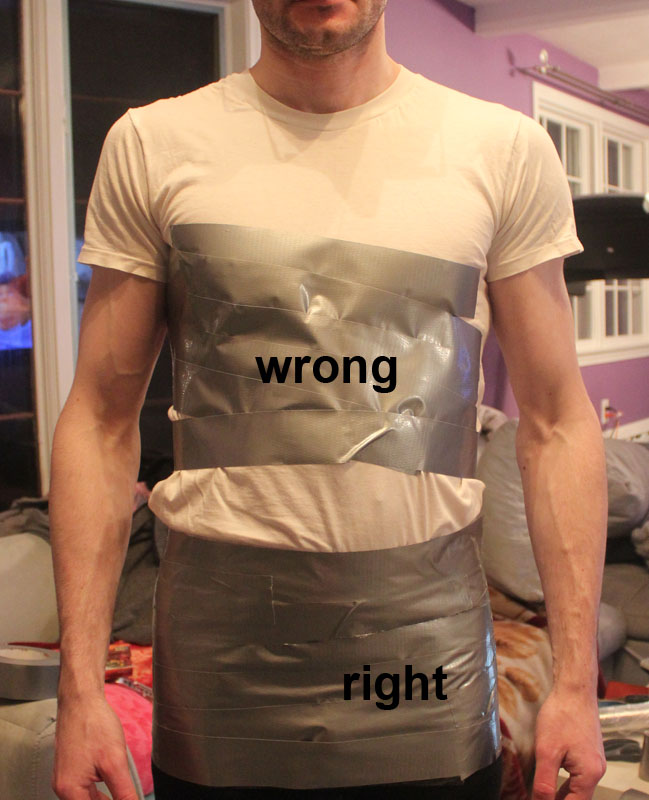
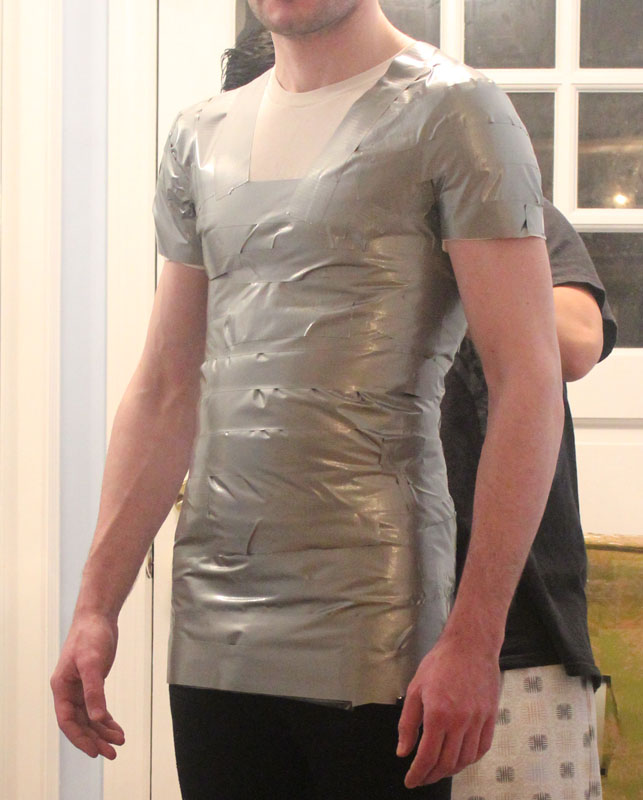
Work in ~2 foot strips. Pick a starting point (we started at the bottom, women will probably want to start just below the breasts).
To place a piece, stick one end to the body. Then hold that in place with one hand, and pull the rest tight and lay it against the body with your other hand. Let the tape conform to the curves of the body, even if that makes it divert up or down. Don’t bend the tape.
Make one complete circle wherever you start. Make sure it’s well-fitted, and then start extending outward in a series of bands, or a spiral.
You want to overlap each circuit by about half an inch, and always make complete circles around the body, otherwise you won’t get a tight fit. If there are gaps due to the way the tape follows your body, that’s fine. Fill them in with smaller pieces of tape.
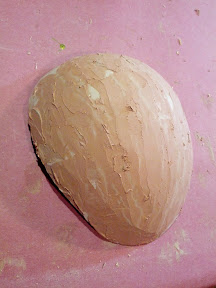
If you mess up at any point, back up and redo – don’t be afraid to throw out some progress. In the photo above, the square on my chest got thrown out after we got the hang of the spiral method.
Continue until you’re wrapped from the hips to the armpits. Get up under the arms, but try not to move your arms too much, since it’ll change the fit.
Side Note: Boobs
You may have noticed that I don’t have any. Breasts are a problem for two main reasons: it’s difficult to form-fit them, and also their shape will vary from costume to costume depending on the type of bra/support you wear.
I did some googling, and the best approach I’ve seen is to make the dress form without them (i.e. make the dress form, cut out the chest region, fill it in flat), and then add stuffed bras when you’re working to match your current needs. If I ever make a form for Sundari-Chan or Samurai Kiss, we’ll experiment.
Shoulders
At this point, you should have something that looks like a strapless dress. Now add straps. Put lines of tape from the front to the back. Make sure they’re well-fitted. Once you have a pair of straps, expand them sideways, continuing to overlap.

If you’re doing the tops of arms, you’ll want to do that next. Take pieces of tape and wrap them around the bicep, as far out as you plan to extend the arms. Make it fit well, but not too tight. (Keep in mind you’ll have this on for another hour or so. I had circulation issues.) Proceed upward with loops of tape till you get to the armpits. Don’t move your arms any more than necessary to get tape under them.
Now, connect the arm sections to the shoulder sections. Use small pieces of tape here, and be careful to follow the contours of the body. This is tricky, so take your time, and don’t worry if you have to back up and redo sections. You want to make a solid connection all around the joint, but without merging the arm and body.
Neck
If you extend to the neck, make sure you have clingwrap around it (or are using a turtleneck), and use small pieces of tape. The easiest approach here is to build up from the main body.

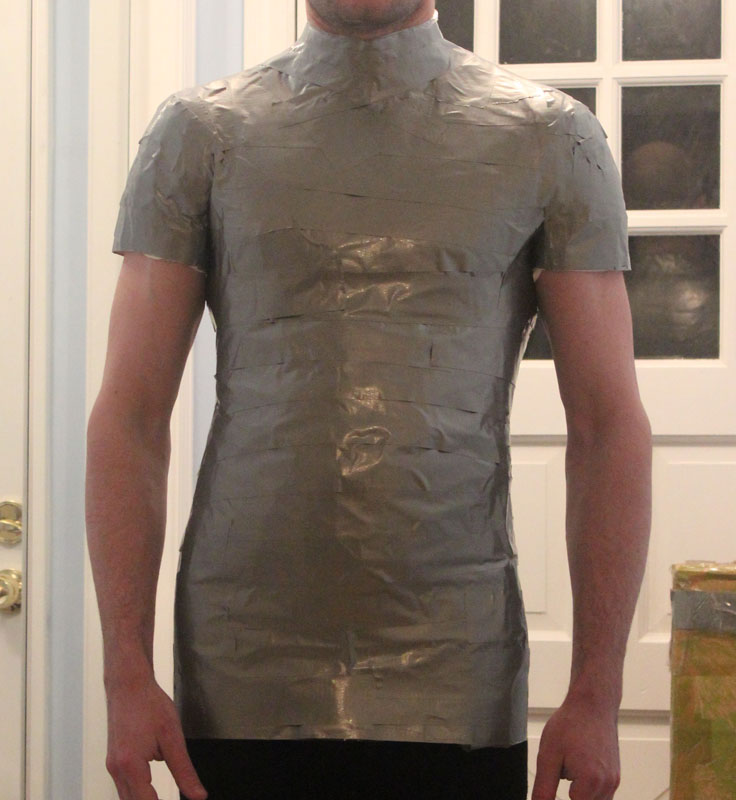
Your first layer should look something like this. Note there we have some folds – try your best to avoid them, but don’t worry too much about it when they happen. You can smooth it out with subsequent layers.
Layers 2 and 3
The second layer is vertical. Use smaller pieces of tape – about 1 foot, and cover the previous layer. Focus on avoiding wrinkles and getting a tight fit. You still need to overlap the pieces by about half an inch.

Click for bonus Dante appearance.
You’ll probably be aching at this point. Your helpers will be tired, too. The end is near.
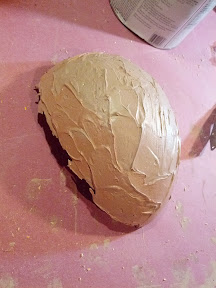
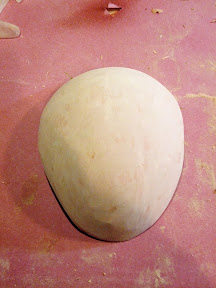
The third and final layer is horizontal. Do everything you did in the first step, but do your best to make everything nice and smooth.
Final Touches
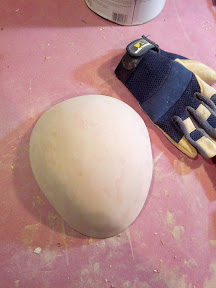
Go over the whole thing and add tape if needed to flatten protrusions and fix mistakes.
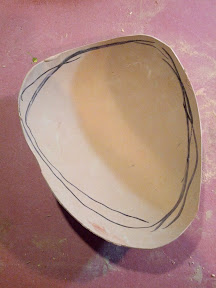
Take a belt/ruler/measuring tape, and draw a horizontal line around the waist, and vertical lines down the center of the front and back. These will help with cutting and alignment.
Extraction
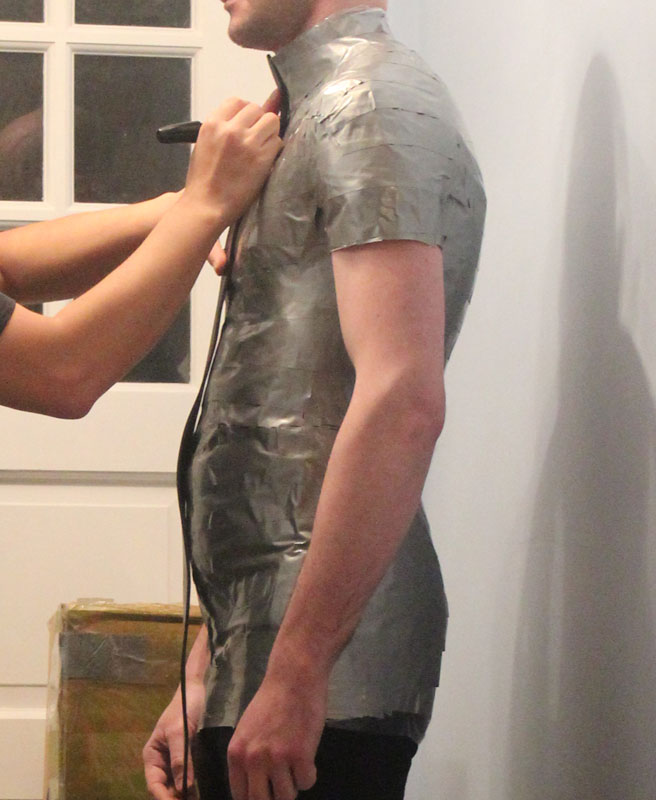
With a sharp, heavy-duty pair of scissors, cut open the back of the form along the vertical line. Be very careful here – you want to cut the duct tape and the shirt, but as little of anything else as you can.

If you made arms, you will also need to cut the arm sections to be able to extricate yourself. Cut them open along the back from the armholes about to the shoulder blades, like so:

Where to cut
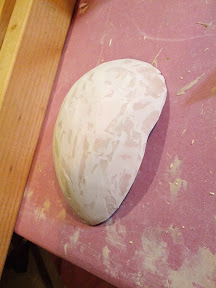
Now, very carefully, remove the the duct tape, more or less how you would remove a heavy apron.

Put it down, and put some tape along the back to close the seam. Don’t overdo it – you’ll be taping everything more carefully during the stuffing process.
You may want to stuff something into the chest cavity to keep it from collapsing while you work on stuffing.
Stuffing and Mounting the Form
Supplies
- Duct Tape
- Stuffing (two 32oz bags)
- Grean cushion foam
- Scrap pieces of insulation foam, wood or plastic
- 2x Clothes hangers
- 1″ PVC pipe (~15 feet)
- PVC Joints: 2x elbow, 2x T
- PVC mounting: 2x male screw adapters, 2 metal flanges
- Mounting board – plywood, 15″x15″, screws
- Permanent marker
- Scissors
- Saw
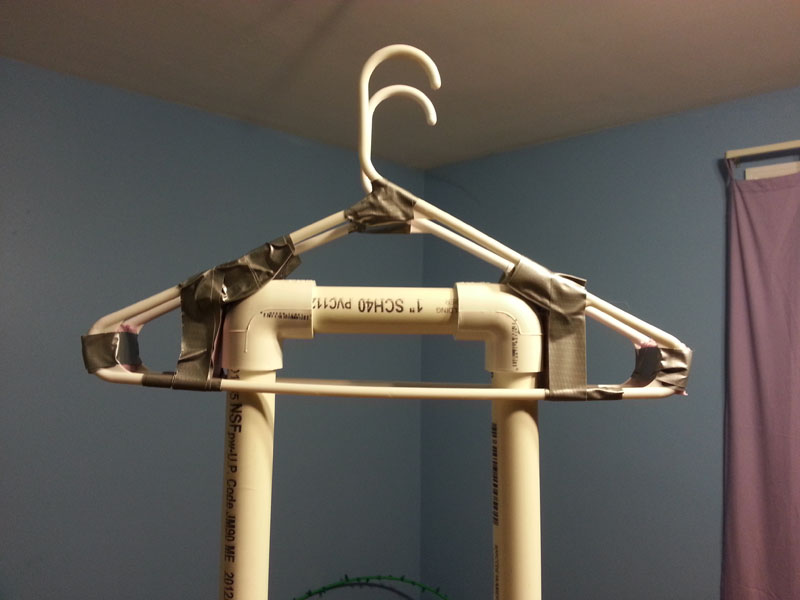
Hanger
To bear the brunt of the load, I used a pair of coat hangers separated by an inch, with cushion foam on top to distribute weight. I used pink insulation foam for spacers, but any hard scraps of wood or plastic would do.

I made this so I could insert it from the bottom of the form without opening it, and then insert the PVC frame into the gap between the hangers. It would also have been fine to put the hangers and the PVC frame together first, and open up he back to insert those.
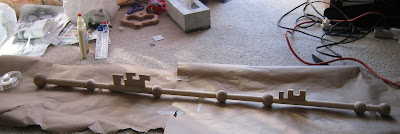
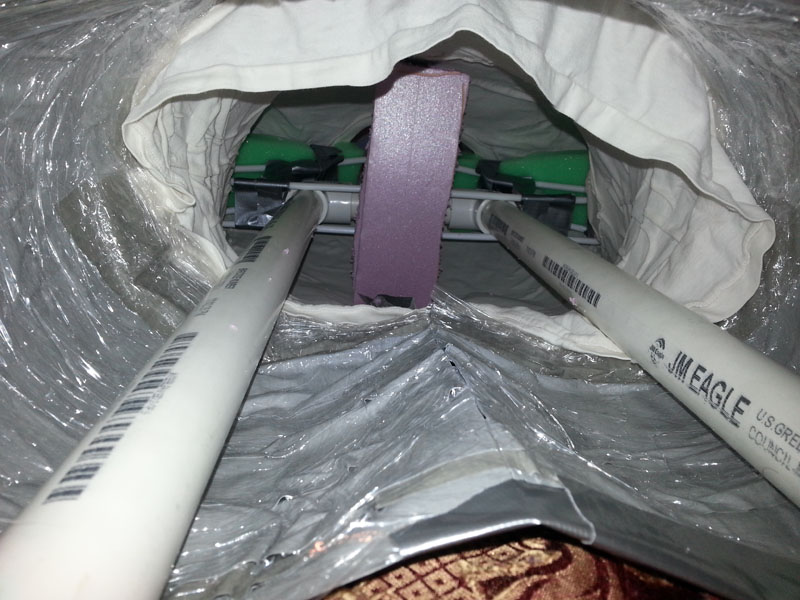
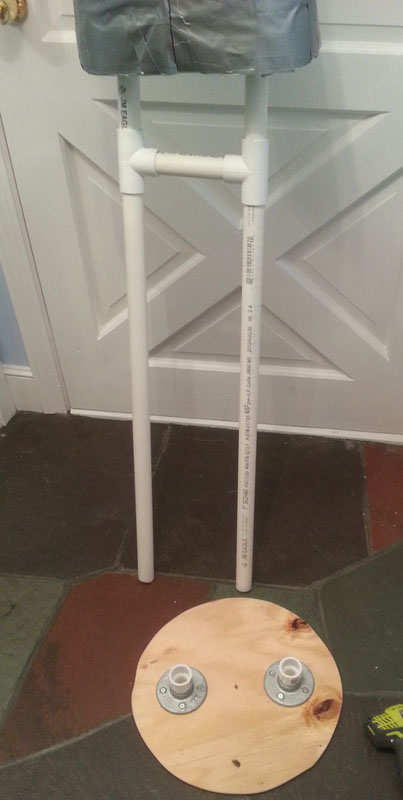
PVC Frame
The PVC frame is two basic pieces – the main piece that is mostly inside the form, and the legs.

The main piece is two longer vertical pieces and two short horizontal pieces (you’ll have to measure for your size), with elbow joints at the top and T-joints at the bottom.
The bottom pieces are a pair of pipes, cut extra-long so the result will be taller than me. This way, I could adjust the height to match me later.
At the bottom of the pipes are a pair of male screw connectors, and metal flanges. All this stuff is from the plumbing section of Home Depot, and you can mix and match to suit your needs.
Inserting the Skeleton
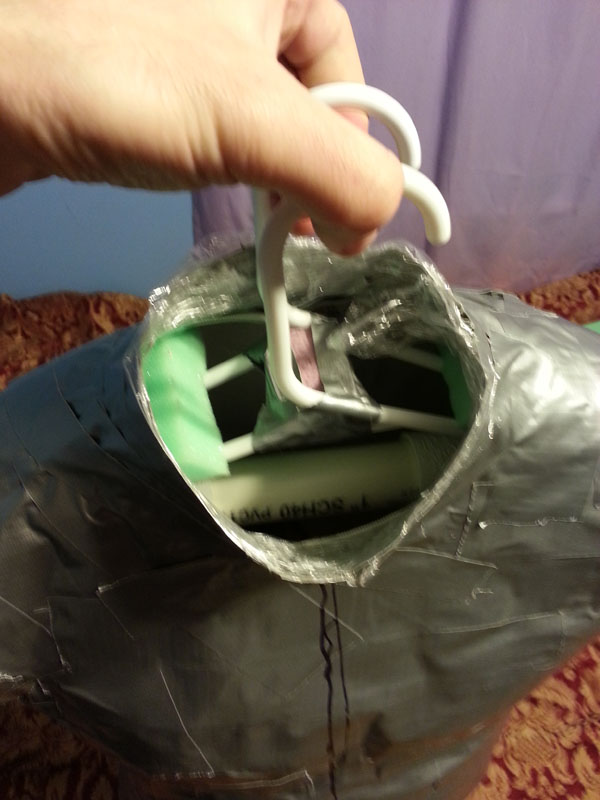
I started the stuffing process by inserting the hanger, then the PVC backbone. I also put a piece of insulation foam to try to keep the chest rigid. This actually turned out to be unnecessary. In fact, keeping the form spread side-to-side was more difficult, and I may have to revisit it. (The form is skinnier than me sideways, which means it’s fatter than me front-to-back. It’s not a big difference, but not ideal.)
Stuffing

Once the skeleton was in, I began stuffing. This was, for me, the most challenging part of the process. (Bear in mind I wasn’t doing the wrapping.) Take your time, and focus on keeping everything even, including the vertical alignment of the skeleton. I put stuffing down the neck, then switched to stuffing from the bottom. Once the chest cavity was filled, I also stuffed from the arm holes.
When stuffing, it helps to press gently around the outside of the form to feel for cavities (and then try to fill them).

Taping
As you stuff, use small pieces of tape to align and close all the cuts. The cuts should be perpendicular to the last layer of tape, so use tape lines to guide alignment.
Closeup of back showing detail of tape on seams
Capping
I capped off the arms and bottom with green cushion foam. This was cut out by laying the foam against the holes, and sketching the border with a marker. I didn’t attach the caps too strongly so I can revisit the stuffing.
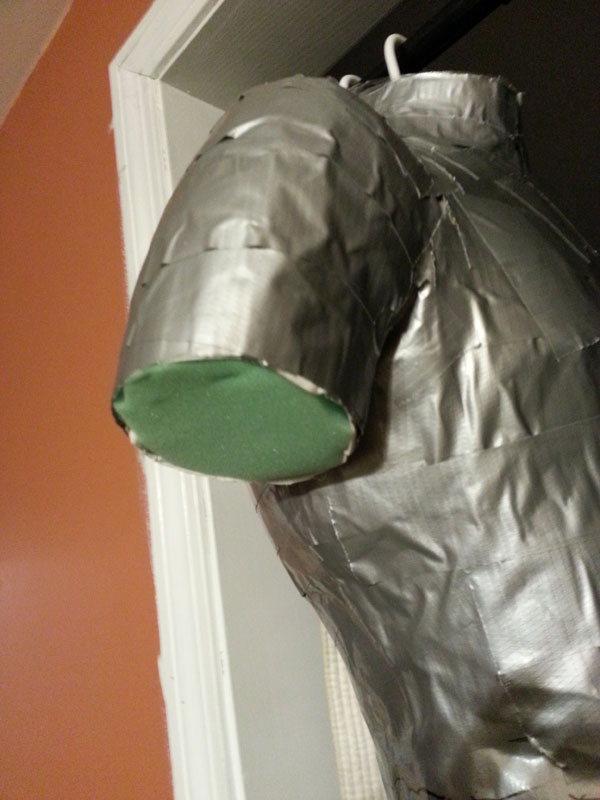
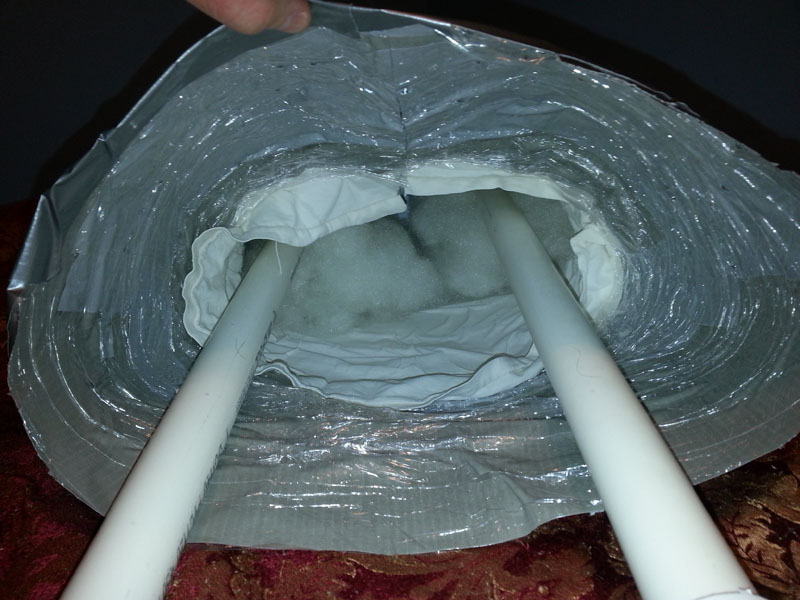
When capping the bottom, make X-shaped incisions to get the skeleton PVC through the foam.

|

|
You could wrap tape directly to create caps, but I wouldn’t recommend it, as it’s likely to deform the form.
I didn’t bother capping the neck.
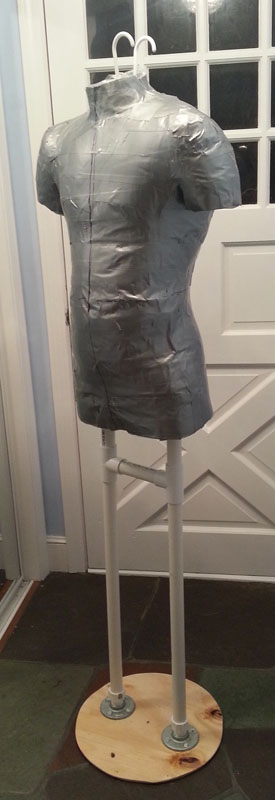
Base
Once that was done, I worked on a base. This is just a circle of plywood, cut out to about 15″ diameter. I attached the flanges to it with screws, then the male screw PVC adapters to that, then slipped the legs into that.
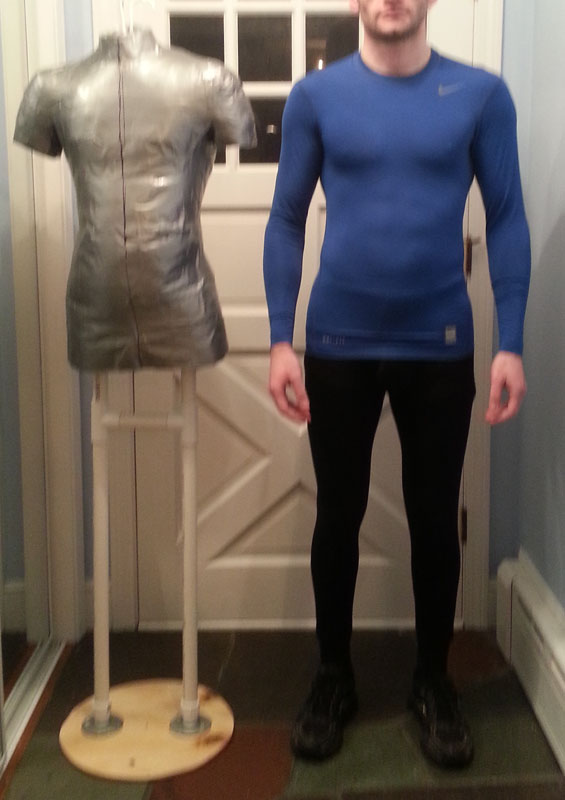
Height Adjustment
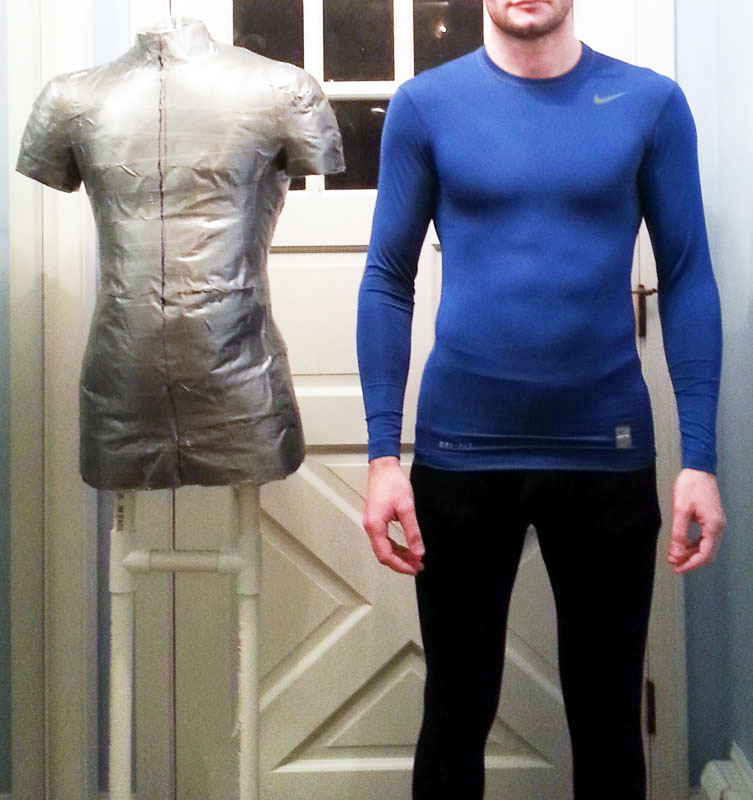
At this point, I measured myself next to the form, and figured out how much height to take off. I compared the heights of the inflection point of the shoulder, which worked well.
Finished Product
And that’s it. Here are some more photos, showing various details.

The legs are removable, so it can be used as a hanging form.
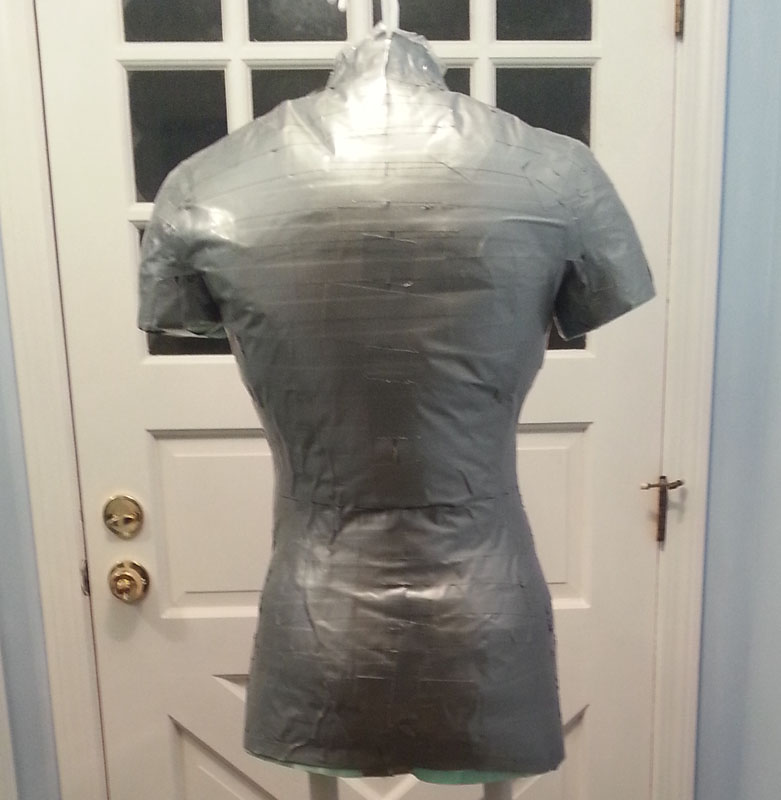
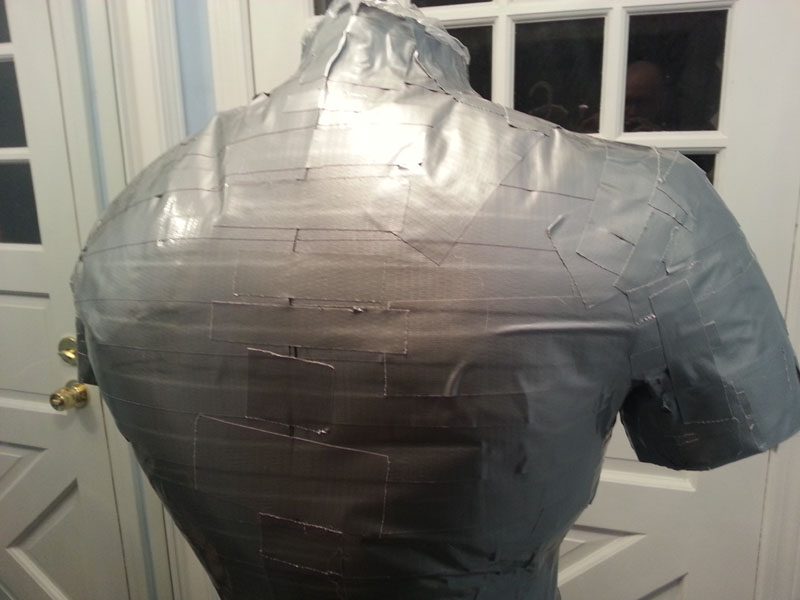
Back view. My posture clearly needs work.

Side view closeup.
You can see that it’s not a perfect match for me. The main problem is that the stuffing makes it more circular than I am. This means it’s narrower than I am from hip to hip, but wider than I am from stomach to spine. This shouldn’t affect fit too much (the circumference is still correct), but I may revisit it to add structural supports later).
- Wall-clock time: 4 days.
- Work-time: 2 hours wrapping, 3 hours taxidermy
- Beers consumed: ~2 (working on stuffing)