… also, build blog. And apparently, it’s called a Hachigane
tl;dr: The printable model is at the end of the post.


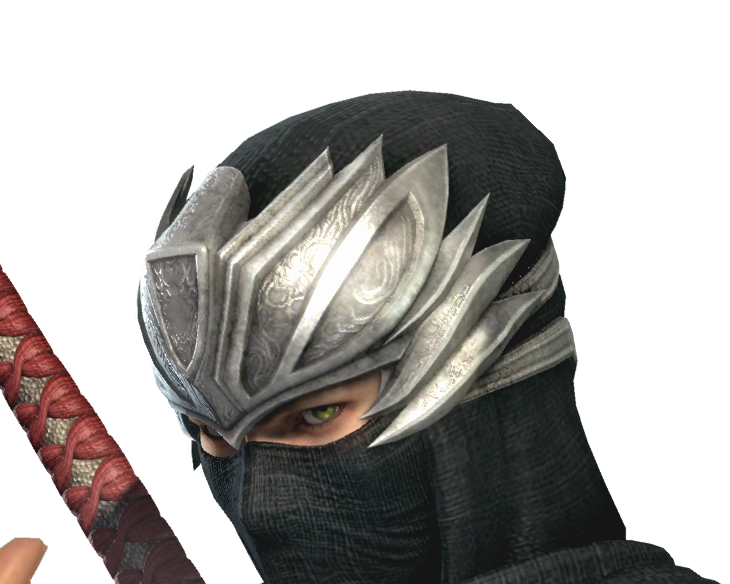
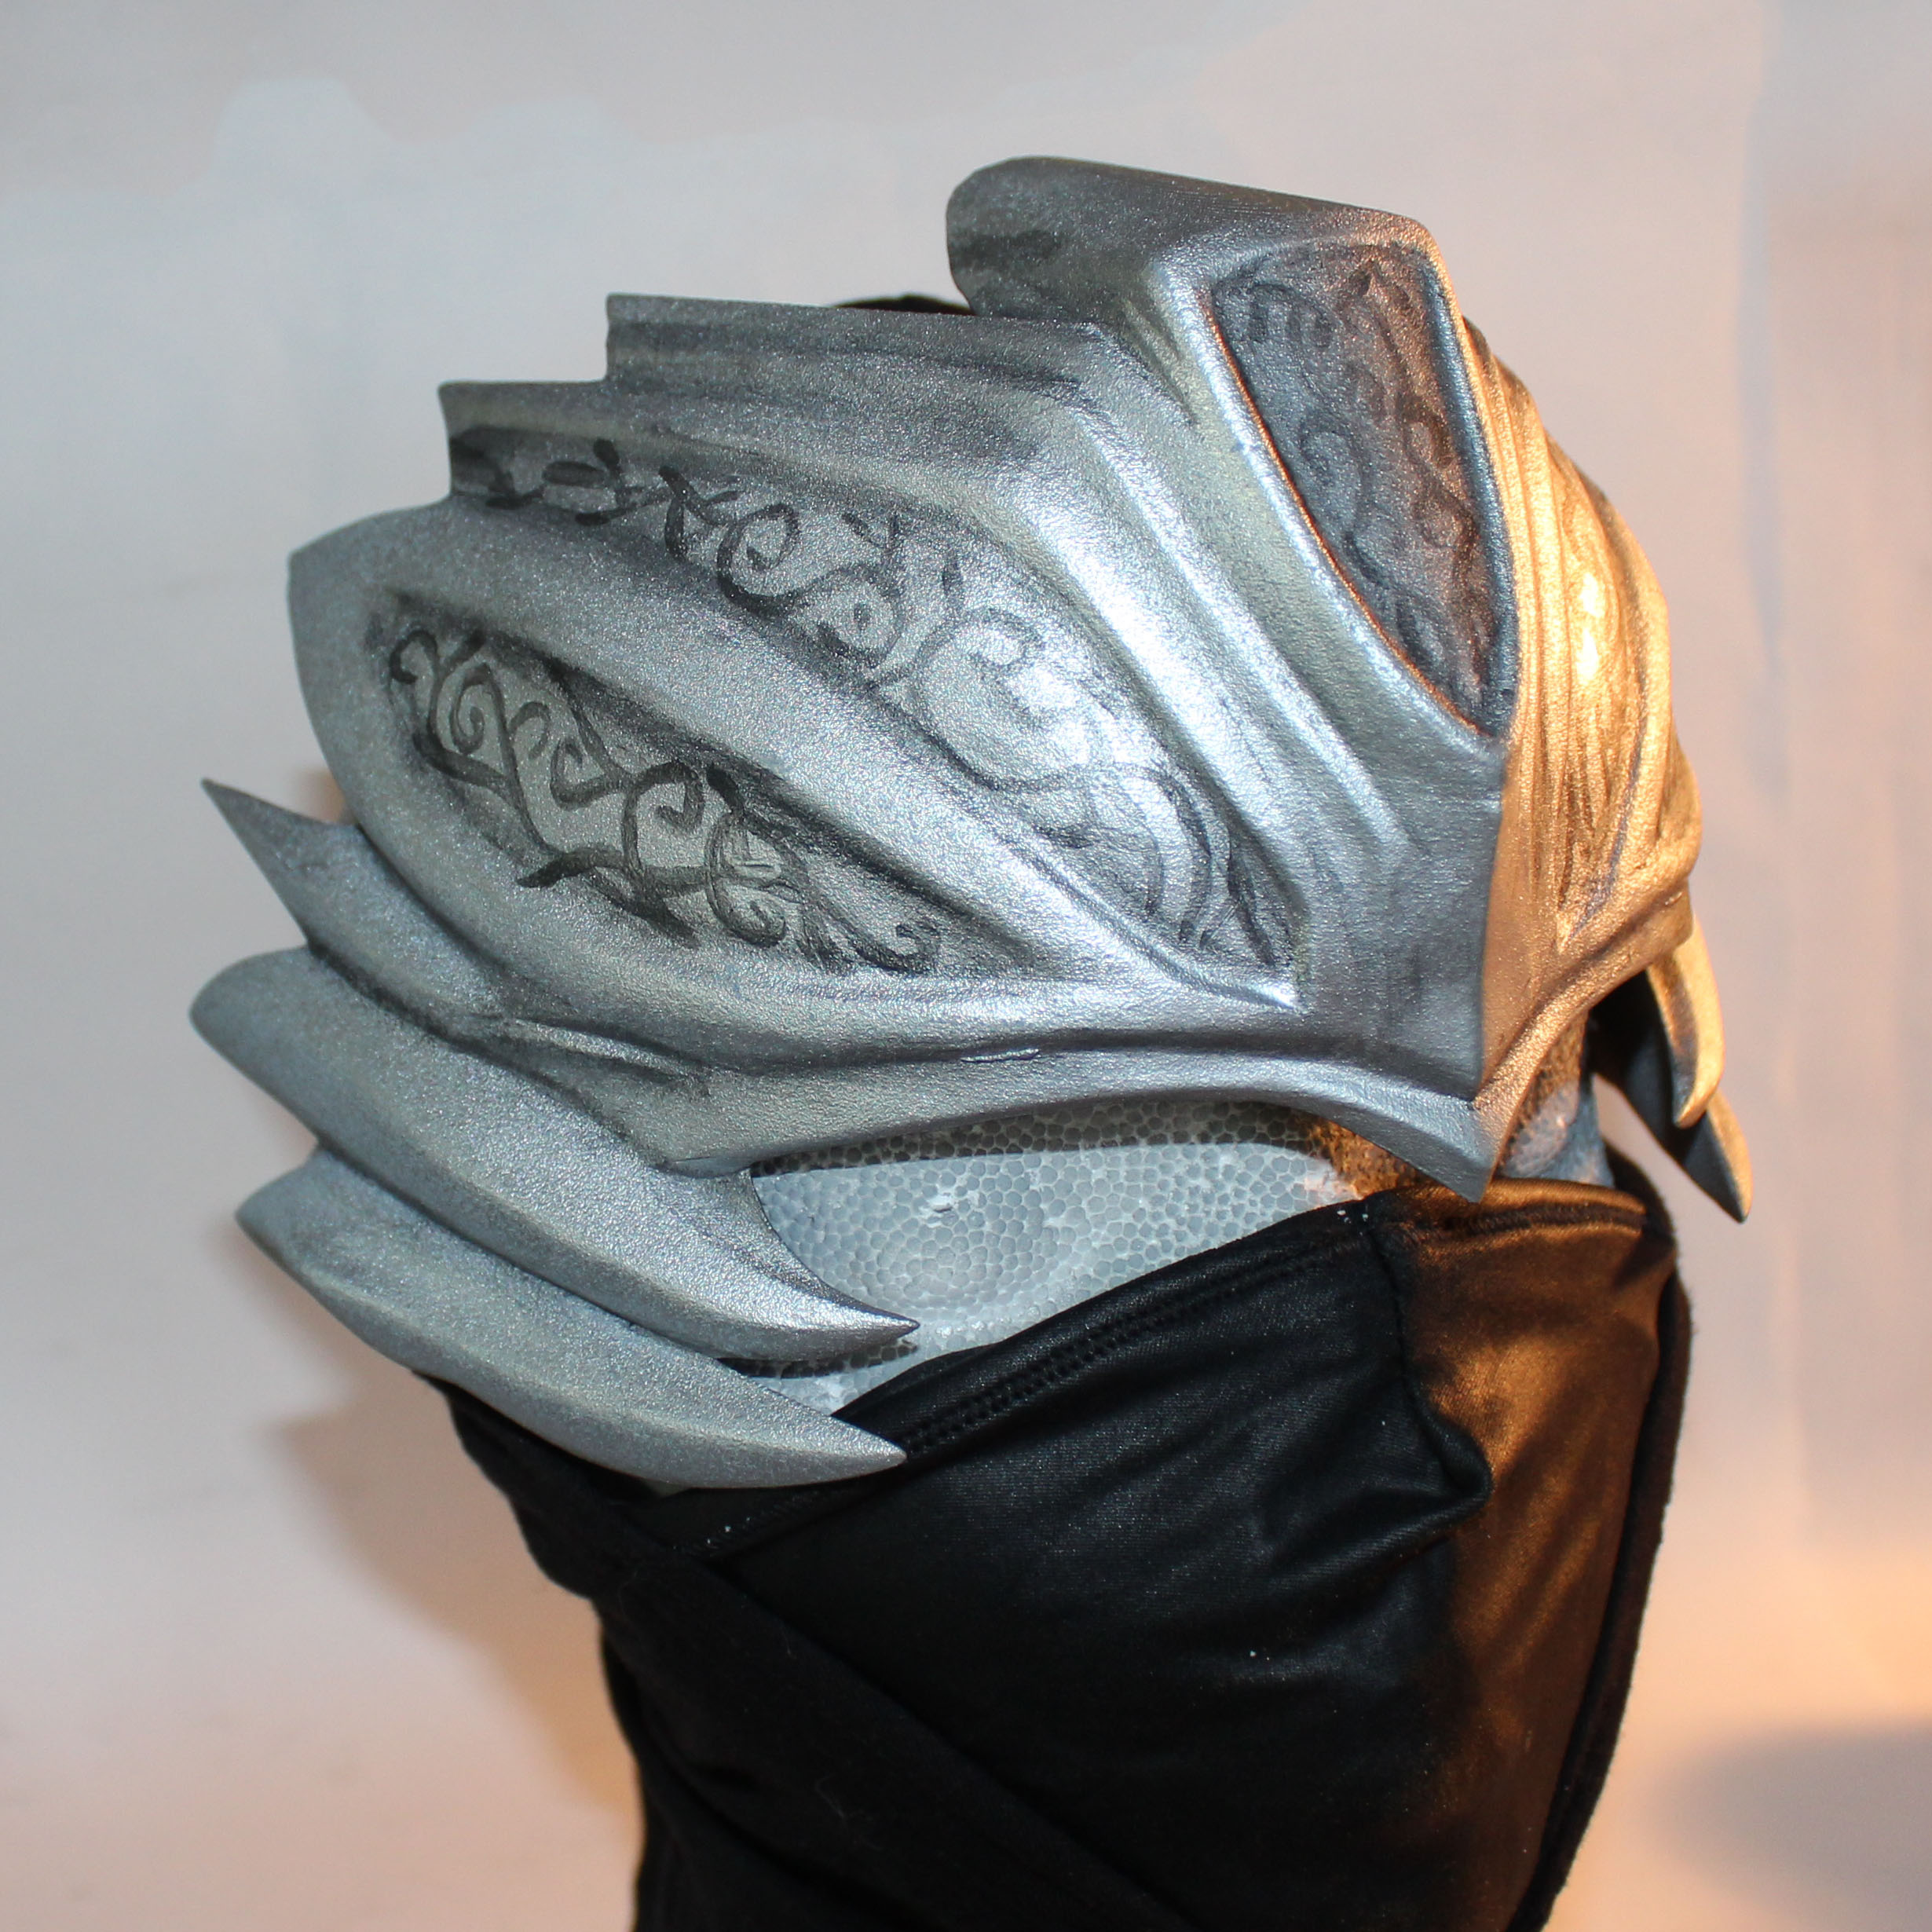
Photo by GeneralGau’s Kitchen. Yes, this is a photo, not a render.
Background
A bit over a year ago, I decided to make a cosplay of Ryu Hayabusa of Ninja Gaiden fame. This was prompted by friends doing a Dead or Alive 5 group. As a result, this is the NG3/DOA5 version of the character, even though I liked NG1 and 2 much better than 3, and I’m not a huge fan of fighting games. (And also I didn’t finish the costume in time for the group. >_>) Still, I love the costume and character and how the whole thing came together.
Note: NG1 and NG2 have different helm designs than this, so caveat emptor.
The dragon helm was the biggest sticking point for the costume. I had a general idea how to make everything else, but not that.
The standard approach for this kind of prop is a combination of sculpting and casting. Unfortunately, I didn’t feel like my sculpting abilities were up to the task of making a symmetrical, detailed helm. Moreover, I’ve never cast anything bigger than a gem.
So, I started thinking about 3d printing. I had no experience with that, either, but I’d worked on a little bit of 3d code in the past (this 3d viewer has an easter egg that includes my initials) so I figured, how hard could it be?
Source Material
Everything hinged on getting my hands on an in-game model. I had zero actual modeling skills, so recreating a helm from scratch would’ve taken forever and not been very good. Fortunately, I tracked down what seems to be an official in-game model of Ryu by someone named “Sidney”. I don’t have a good official source for it (malware everywhere, sigh), so I’ve included a copy along with the printable model (below).

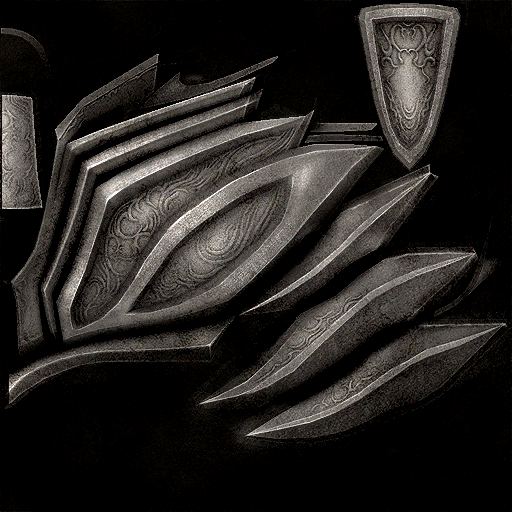
This also contained a texture map that would have helped with painting, had I noticed it at the time. For you, future helm builder:
Extracting just the helm from this model wasn’t difficult; all the hard parts came after.
Making a solid object out of a 3d model
3d printers like to print simple, solid objects. That means a volume of space enclosed by a single layer of triangular mesh, with all the normals facing “out”. (The normal indicates which side of a triangle is the visible, “outer” side, and which side is the invisible “inner” side.)
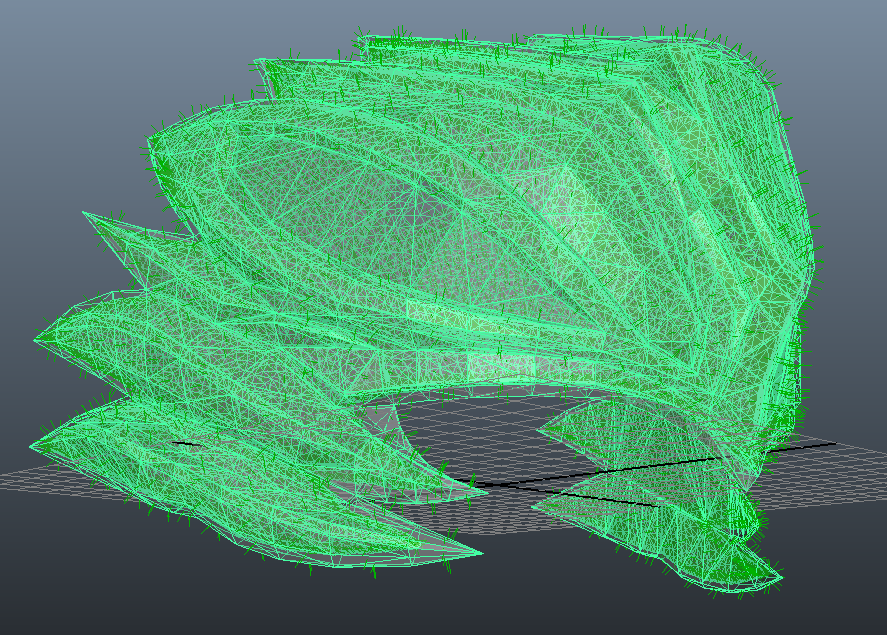
Video games rendering engines don’t care about any of that. They’ll render any set of triangles you care to slap together. When I first extracted the helm model, this is what it looked like:

The red here marks triangles that are facing away from the camera. In addition to that, you can see that there are a lot of triangles jutting out of the model, and overlapping, as so:
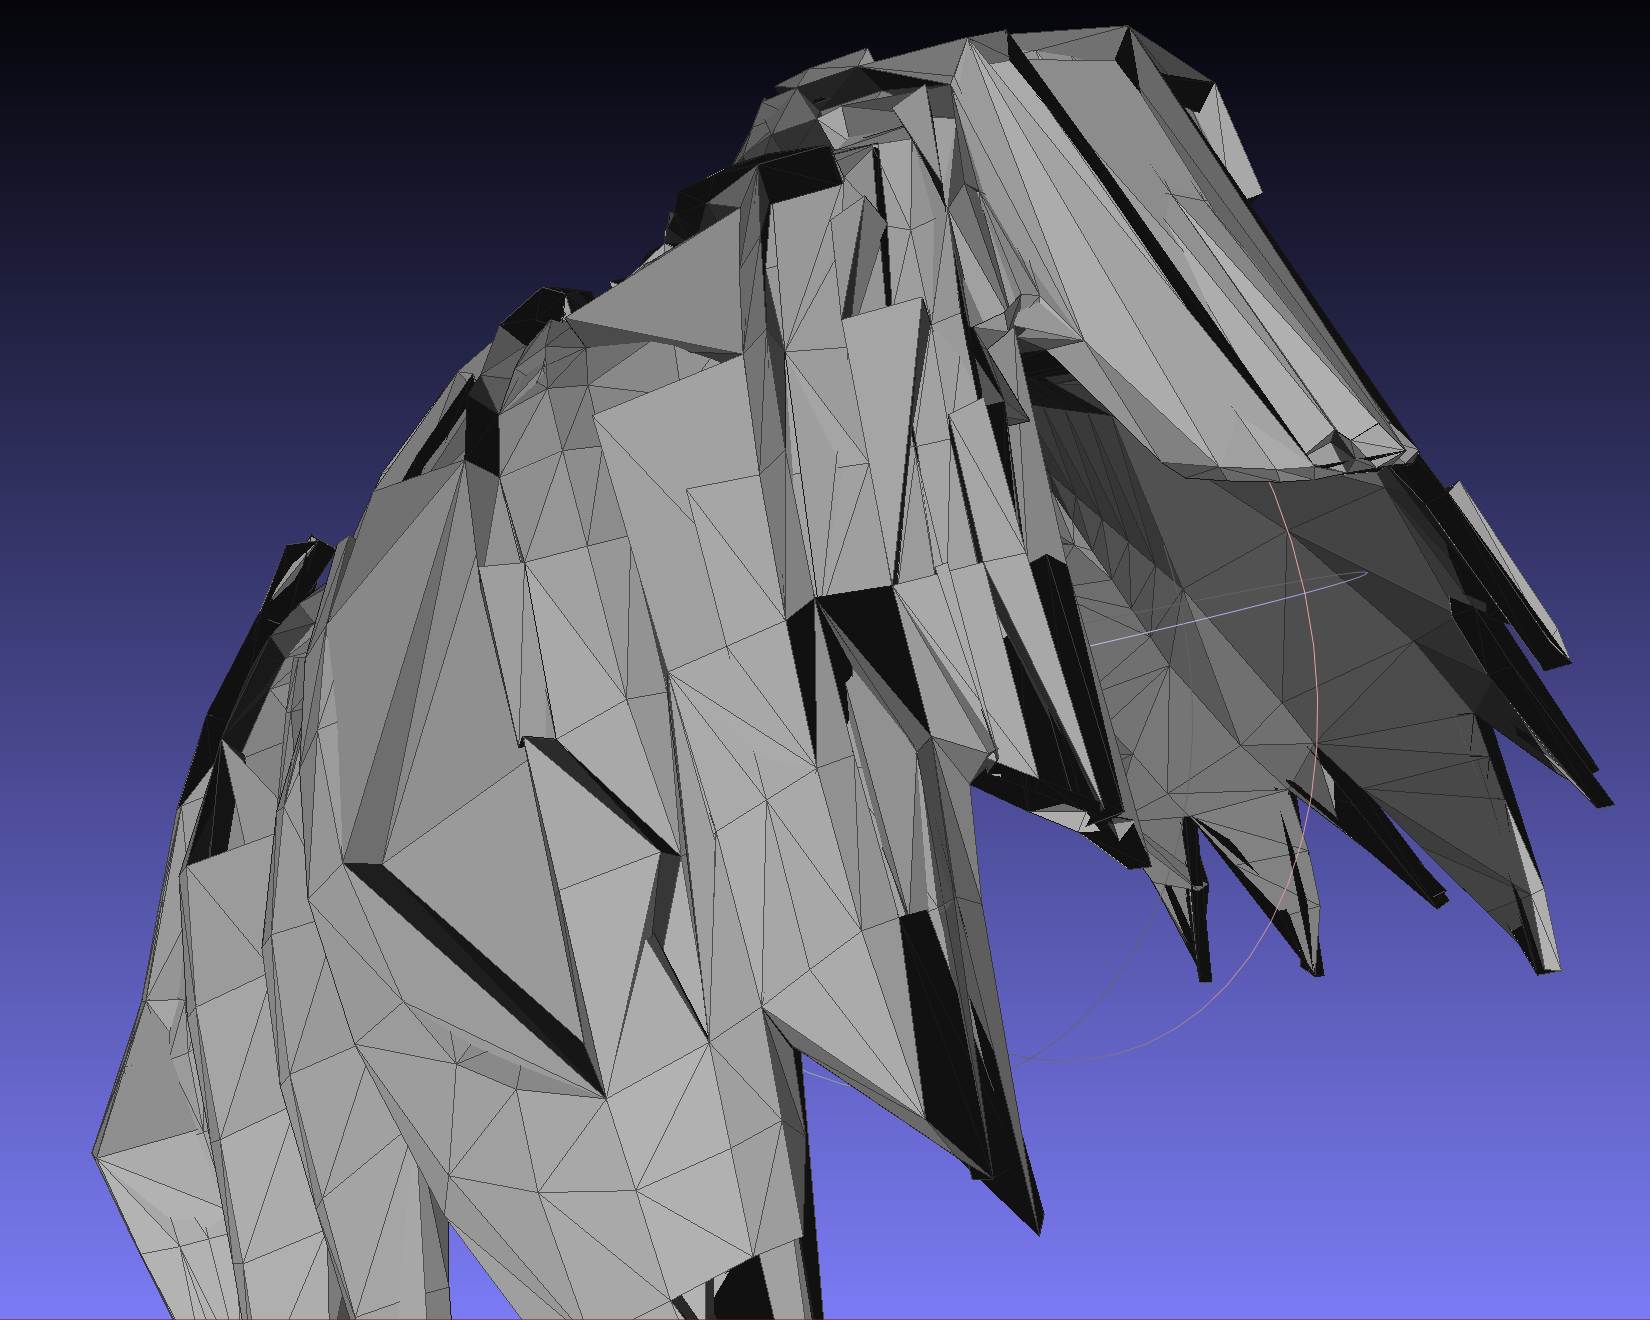
Closeup showing artifacts jutting out of the model everywhere.
I didn’t at that time have any experience with Maya (or any 3d authoring tools), so it took me a while to figure out what was going on here. As far as I can tell, there were actually two layers of triangles at every point of the model – one layer facing out, and another facing in. The two layers sometimes used the same vertices and sometimes different ones. Inside the game engine, only the layer facing the camera would be rendered, so the overlap was essentially invisible. But if the camera happened to clip inside the volume of the helm, it would see metal all around, instead of blackness. To a 3d printer, this was gibberish.
I tried a few automated approaches to cleaning up the model, without success. Finally, I cut the model in half (to reduce the scope of the task), and then manually went through and deleted all the overlapping faces, and every other face that caused problems. After many hours of this (like I said, no experience), I ended up with this:
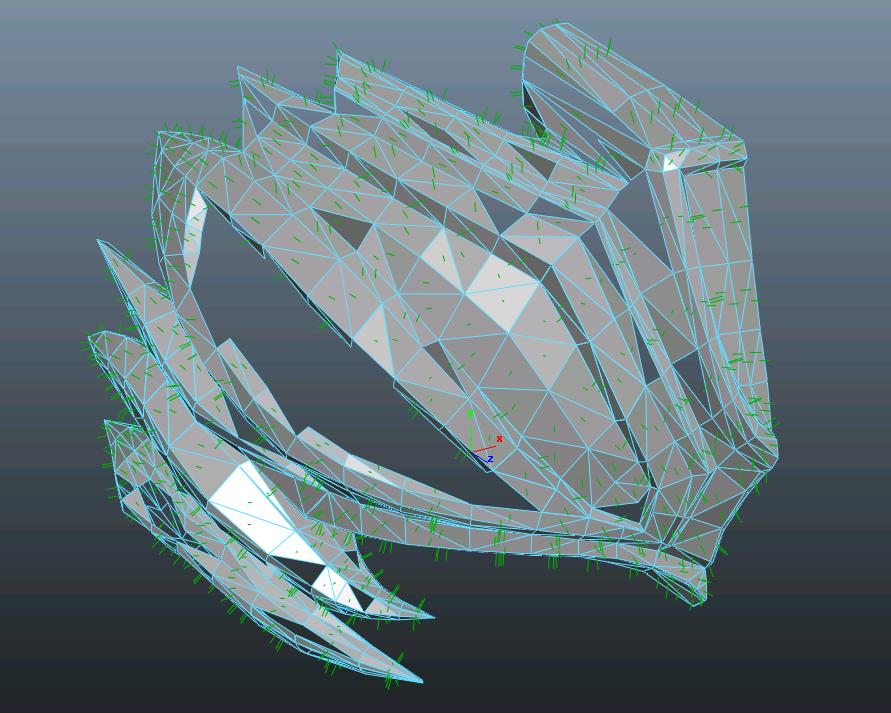
This was much more tolerable. I then filled in the gaps with new triangles, and checked the model for errors. After a few iterations, I ended up with a nice, clean 3d model:

The off-color patches are where I had to repair the model’s holes, and lost the textures on the triangles (or something).
I uploaded this to Shapeways, which I had determined was the cheapest method for getting a print. This is a website that will print a model for you, and then ship you the result. They have some competitors, chief among them Ponoko, which has more choice, but is pricier for this kind of basic plastic print.
Shapeways quoted me a price of $1000 and change.
…
This was somewhat higher than I had budgeted for.
Hollowing out the model
Prices on websites like Shapeways are per unit volume of material used, and the plastic is quite strong, so the right approach is to print out hollowed-out models, instead of solid pieces. That way, you’re only paying for a thin shell, your props are lighter, and your costs are proportional to surface area, not volume.
Unfortunately, it’s quite difficult to hollow out something this complex. There are tutorials on the Shapeways site, but they’re hilariously inadequate for anything complex. They all boil down to creating a smaller model along the negative of the normal from your triangles, but this really only works for convex models with right angles or greater, and completely wrecks models with pointy edges and inward corners like the dragon helm.
After bashing my head against Maya for a week, I came across this awesome tutorial for hollowing models:
Amazing tutorial for hollowing models using Meshlab, an open source 3d editor.
It took a bit of experimentation to get this to work on my model (mostly struggling with triangle counts and file formats), but I managed to create a hollow version of my model.
If you look closely, you can see there are two layers, one slightly inside the other.
After that, the only problem was that Shapeways requires your model to have only one ‘outer’ surface – they can’t print something with a completely enclosed space. This is because their printing process puts down layers of powder, and then melts the points that are part of the model into a solid. This means that at the end, they need to reclaim the excess powder somehow, which means that any internal hollow must have holes leading out to the surface.
It took another couple of days in Maya to create suitable holes in the back of my model (seriously, I’m a modeling newb):
The shaded triangle and quadrilateral are cutouts between the inside and outside of the hollow model.
The price was now $250. I agonized over this for a couple of weeks, and finally gave in and ordered it.
Version 1
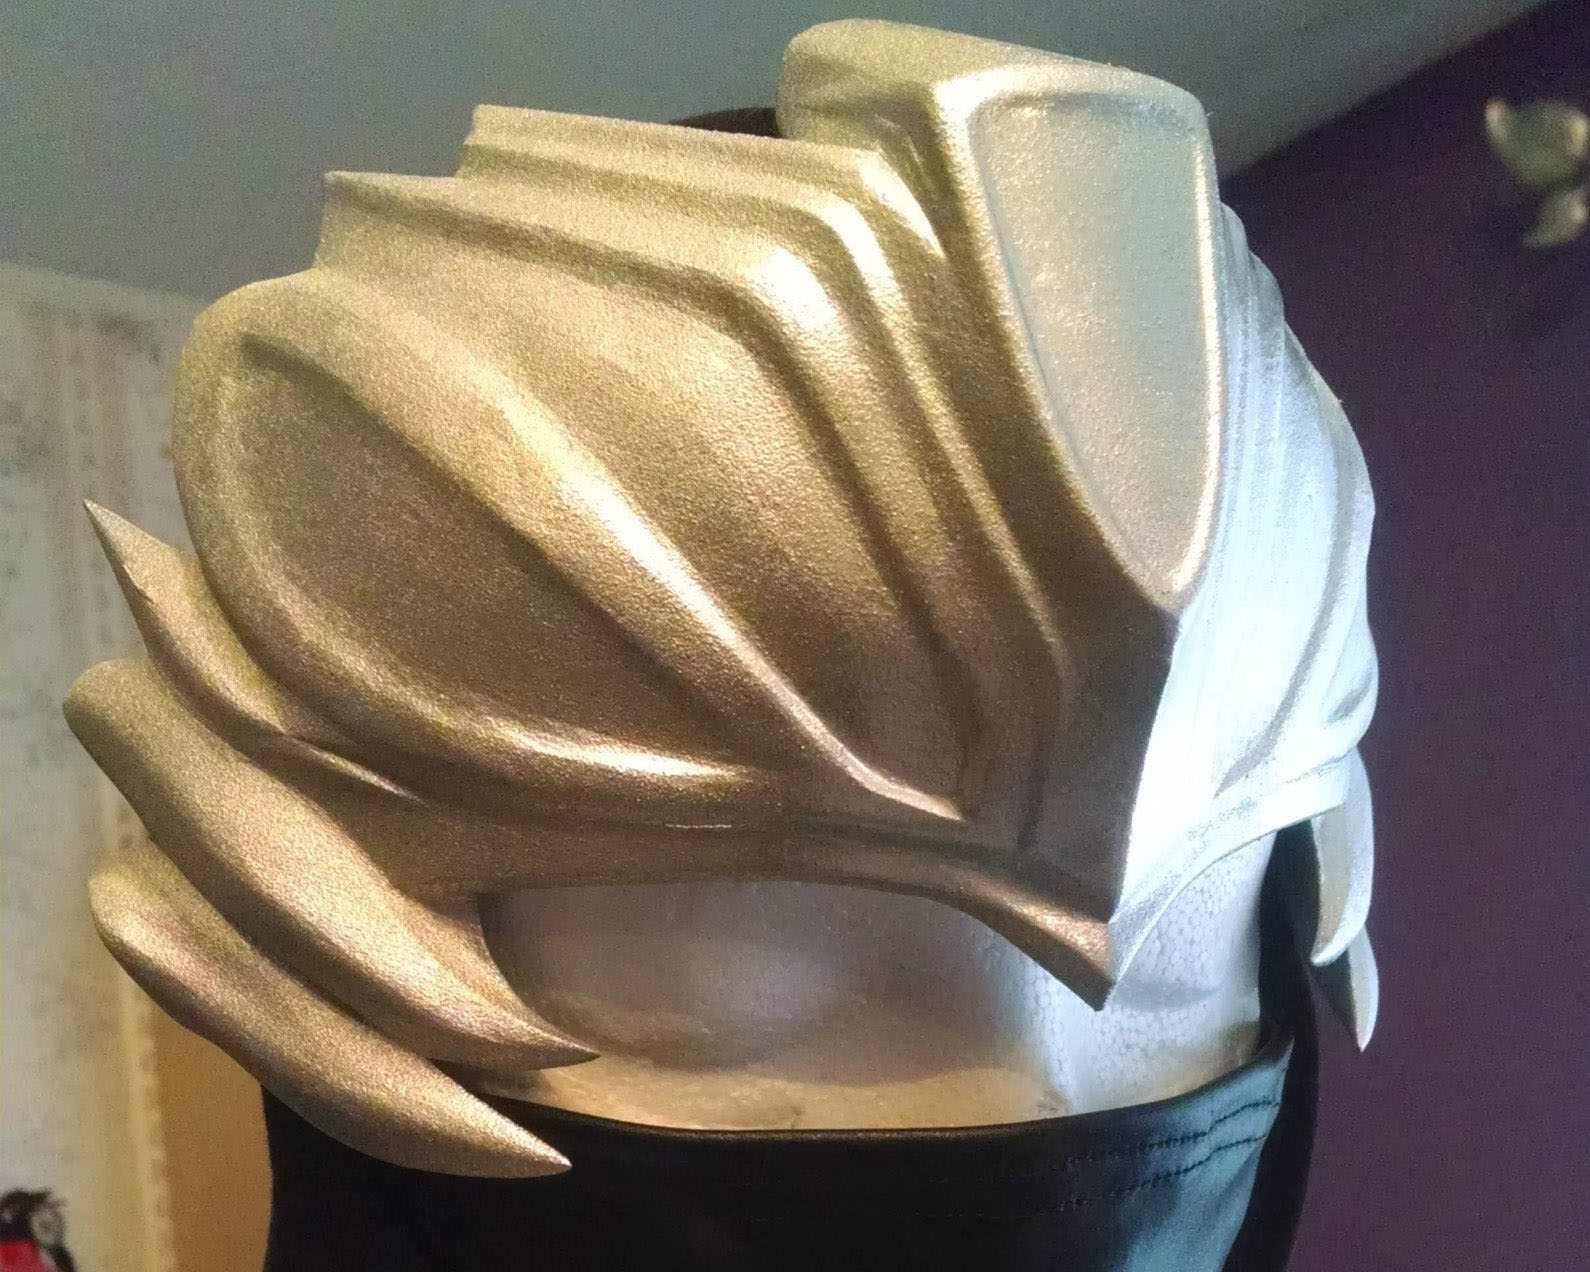
Version 1 arrived within a couple of weeks. This is what it looks like:

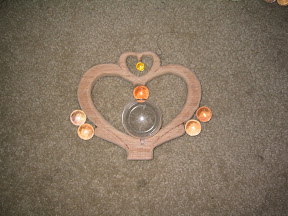
Unpainted

Rough-painted
Okay, so first off, it’s amazing. It really does look like the item in the game, and holding it in your hand is all sorts of crazy.
However, there are two major problems:
1) The facets on the curved surfaces. This is smoothed out by the game engine with interpolated normals, but of course there’s no such thing in real life, so it shows up fairly obviously.
2) It’s about an inch too big in every dimension, and while I could make that work, it didn’t make me happy, and happiness is important, right?
Iterating
I decided to model a second version and then consider how much money I had left.
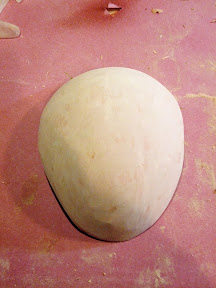
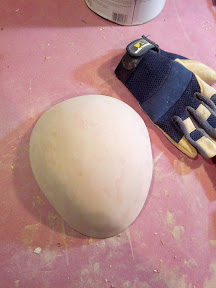
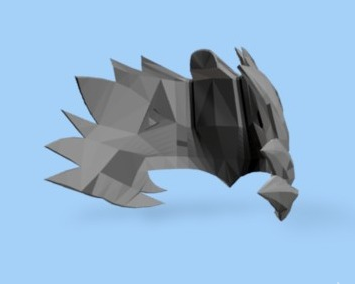
I started back with the un-hollowed-out piece. I first smoothed out all the surfaces (fortunately Maya has built-in utilities for that).

So smooooth
I reduced its size by about 15% in every dimension, and when I hollowed it out, I made the walls about 30% thinner (the plastic is ridiculously strong). I also made the opening in the back much bigger:

Giant rear hole
The result was a reduction in price to $120 (remember, it’s charged by volume of material). Chalk up the first $250 to very expensive experience. I ordered it pretty much immediately, and this is what came:

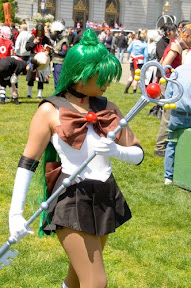
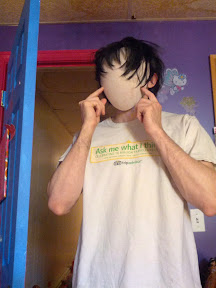
Modeled here by Samurai Kiss
I’m super happy with it. The only thing I’d change is to make it a tiny bit wider, since it’s rather tight against my head. However, that helps keep in in place, and it comes out just fine in photos.
Painting
I wish I’d known about that texture file. I ended up looking at photos of the costume online, and winging a lot of the painting.
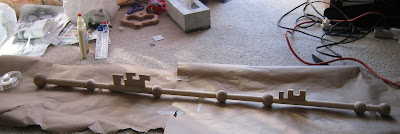
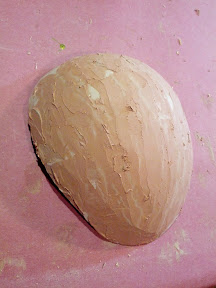
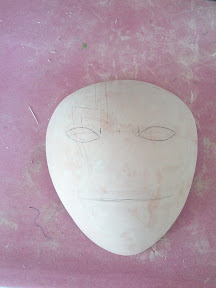
Base coat (primer + silver spray paint).
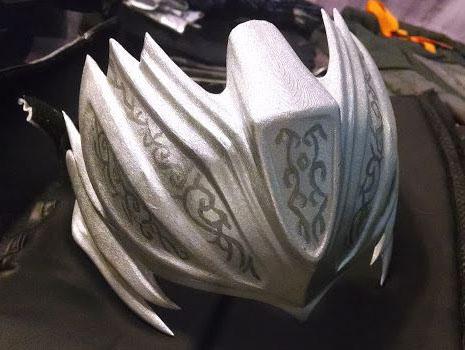
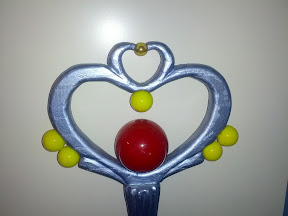
Painted design (hand-painted acrylic).
Final weathered version (weathering with acrylic paints).
The Model
I guess why not, right? Here’s the model file, which you can upload to Shapeways, or use your home 3d printer to print.
Use something like Meshlab to scale it to your head, one size does not fit all.
PLEEEEASE credit me. You can link here or even better to my Facebook page. This model represents 40-50 hours of painstaking work, not to mention money spent. I’d also love to see photos of you cosplaying in this.
Enjoy, and good luck with your costume (or prop or display piece).
===================================
Download The Model Here
===================================
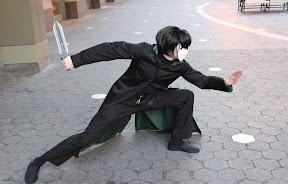
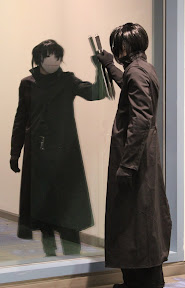
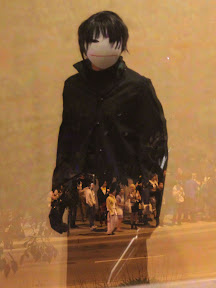
A few photos of my final Hayabusa cosplay
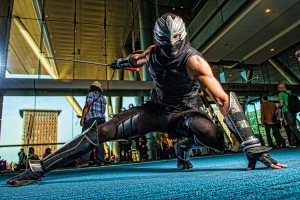
Photo by GeneralGau’s Kitchen.
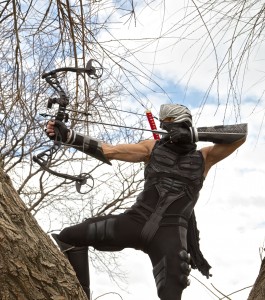
Photo by Joey Phoenix Photography.
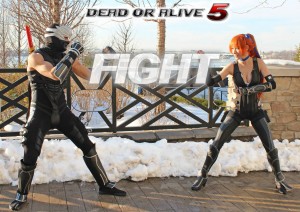
Photo by Otaku Cop with C & C Cosplay Factory as Kasumi.

Photo by S ‘n M Productions with C & C Cosplay Factory as Bayman.